When exploring KitchenAid replacement parts, consider ingredient cups, jars, and coupling solutions carefully. Choose precise, correct-sized ingredient cups to prevent measurement errors in your culinary creations. Select replacement jars compatible with your blender model and made from durable materials to enhance efficiency. Identify coupling wear through visual checks and unusual noises, replacing as needed for peak performance. Balancing original and third-party parts ensures cost-effective, reliable solutions. Discover more to keep your KitchenAid in top shape.
Key Takeaways
- Verify compatibility of replacement parts with your specific KitchenAid model to ensure proper functionality.
- Choose ingredient cups made from durable materials like stainless steel or glass for precise measurements.
- Opt for BPA-free plastic or glass jars for durability and easy cleaning in KitchenAid blenders.
- Regularly inspect couplings for wear and replace them to maintain optimal blender performance.
- Consider original parts for guaranteed compatibility, but evaluate third-party options for cost-effectiveness.
Understanding the Role of Ingredient Cups in KitchenAid Mixers
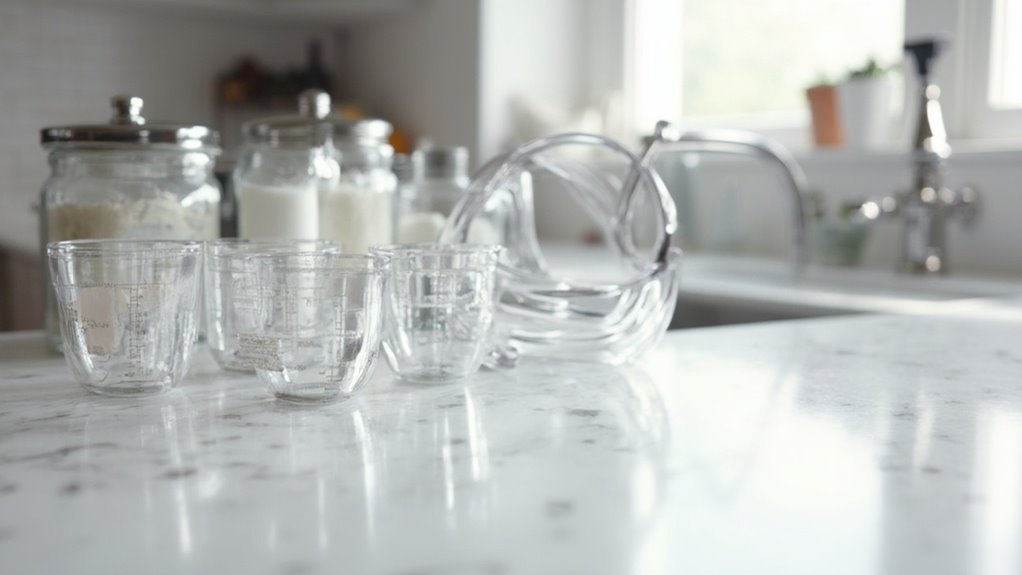
Although often overlooked, ingredient cups in KitchenAid mixers play an essential role in guaranteeing precise measurements and consistent results.
To achieve ingredient measurement accuracy, you must understand ingredient cup functionality. Begin by selecting the correct cup size for your recipe; this enables precise ingredient portions. The design of these cups guarantees that each ingredient is measured accurately, preventing deviations that could affect your culinary creations.
When using your mixer, verify the ingredient cup is clean and dry to avoid measurement inaccuracies. Handle it gently, as any deformity may disrupt its functionality.
Choosing the Right Replacement Jars for Your KitchenAid Blender
When selecting replacement jars for your KitchenAid blender, it is vital to take into account compatibility and functionality to guarantee peak performance. First, verify jar compatibility by matching the jar model with your blender. Check KitchenAid's specifications to confirm a seamless fit. Different models may require specific jar designs, affecting blending efficiency. Jar maintenance is fundamental for longevity; opt for jars that are easy to clean and made from durable materials like BPA-free plastic or glass.
| Feature | Consideration |
|---|---|
| Compatibility | Match jar model with blender |
| Material | Choose BPA-free plastic or glass |
| Maintenance | Confirm easy cleaning |
Ultimately, your choice should reflect your blending needs and offer the freedom to explore various culinary endeavors without compromising your blender's performance.
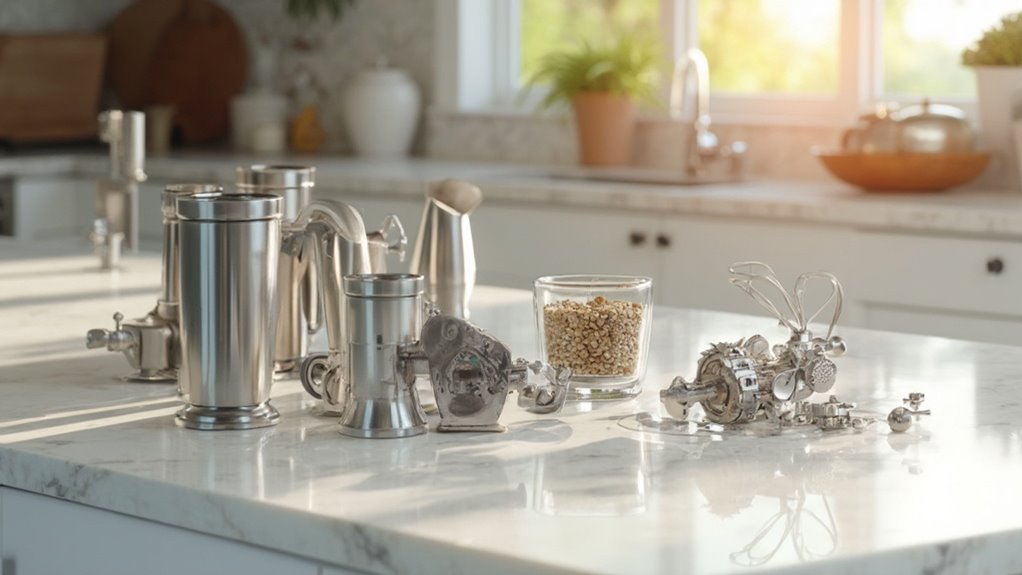
How to Identify When It's Time to Replace Coupling Solutions
You'll want to check your KitchenAid's coupling solutions for signs of wear such as cracks or missing teeth, which can lead to reduced performance.
Listen for unusual noises or notice if your blender struggles to maintain speed, as these are clear indicators that replacement is necessary.
Address these issues promptly to guarantee your appliance operates efficiently and avoids further damage.
Signs of Wear
The heart of any KitchenAid appliance, the coupling solution, requires your keen eye to confirm it performs at its finest. Recognizing wear indicators is essential for maintaining peak functionality. Start by inspecting the coupling for visible cracks or chips—these are clear signs it's time for a replacement. Another wear indicator is unusual noise during operation, suggesting worn teeth. Keep your appliance running smoothly with regular maintenance tips: clean the coupling area to prevent debris buildup and confirm a secure fit.
Here's a simple table to guide you:
| Wear Indicator | Action Needed | Maintenance Tip |
|---|---|---|
| Cracks/Chips | Replace Coupling | Inspect Monthly |
| Unusual Noise | Check Alignment | Lubricate Annually |
| Debris Build-up | Clean Thoroughly | Use Brush After Each Use |
Stay proactive to enjoy seamless KitchenAid performance.
Performance Issues
Identifying performance issues in your KitchenAid appliance is essential to determine when it's time to replace the coupling solutions.

Start by observing any unusual noises during operation, as these can signal wear. Check the mixer's performance troubleshooting by evaluating the efficiency: if it struggles with tasks it previously handled with ease, the coupling may be failing.
Examine the base and attachment points for visible damage or misalignment, which can affect mixer efficiency. Notice if the attachments wobble or don't fit snugly, as this indicates coupling wear.
Regular maintenance checks guarantee freedom from unexpected breakdowns. Don't wait for complete failure; by addressing these signs promptly, you maintain peak performance and prolong the life of your KitchenAid appliance.
A Guide to Compatible Ingredient Cup Materials
Choosing the right material for your KitchenAid ingredient cup can greatly affect your mixing precision and durability. You'll want to evaluate ingredient cup materials that maximize compatibility with your KitchenAid model. The table below outlines key materials, their advantages, and potential drawbacks:
| Material | Advantages | Drawbacks |
|---|---|---|
| Stainless Steel | Durable, non-reactive, easy to clean | Heavier, may dent |
| Glass | Transparent, doesn't retain odors | Fragile, heavier than plastic |
| Plastic | Lightweight, shatter-resistant | Can absorb odors, less durable |
| Silicone | Flexible, heat-resistant | May stain, less durable than glass |
| Ceramic | Aesthetic, non-reactive | Fragile, heavier than other options |
Your choice influences not only performance but the freedom to experiment and enjoy the process without constraints. Prioritize compatibility for seamless kitchen adventures.
Exploring Different Types of Blender Jars and Their Uses
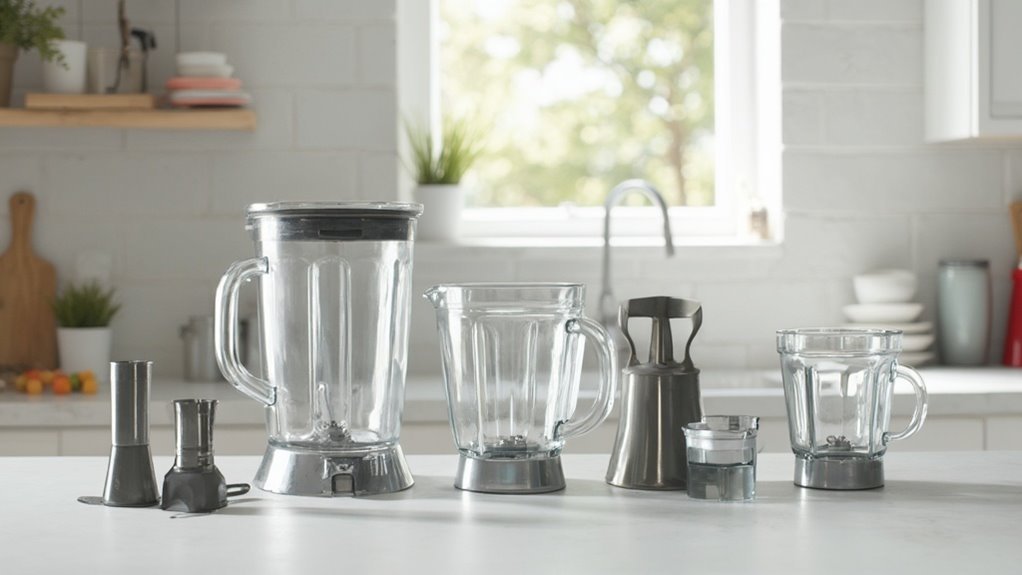
When selecting a blender jar, consider the material variations like glass, plastic, or stainless steel, as each offers unique benefits such as durability, weight, or resistance to stains.
Assess the size options to match your blending needs, ensuring the capacity aligns with your typical batch sizes and storage space.
For specialized tasks, explore specialty jars designed for purposes like smoothie making or chopping, which can optimize performance and efficiency.
Material Variations and Benefits
While selecting the right blender jar for your KitchenAid appliance, understanding the material variations can greatly enhance your blending experience. Different materials offer unique benefits, impacting both material durability and performance. Glass jars are classic, offering clear visibility and resistance to stains and odors. They are heavier but provide a stable base during blending. Plastic jars are lighter and more durable against accidental drops, though they may scratch over time. Stainless steel jars offer unmatched durability and a sleek look, but they don't allow you to see the contents while blending.
| Material | Benefits |
|---|---|
| Glass | Stain-resistant, clear visibility |
| Plastic | Lightweight, resilient to drops |
| Stainless Steel | High durability, modern aesthetic |
Choose based on your needs and elevate your blending experience.
Size Options and Capacity
Understanding the diverse size options and capacities of blender jars is essential for optimizing your KitchenAid appliance's performance.
You'll find that jar capacity variations cater to different culinary needs. Small jars, typically around 16 ounces, are ideal for single servings or quick tasks. Medium jars, ranging from 32 to 48 ounces, suit everyday blending needs like smoothies or soups. If you're preparing larger batches, opt for larger jars, offering up to 64 ounces of capacity.
Take note of ingredient cup dimensions, as they impact your preparation flexibility. Smaller cups allow precise measurements for baking or intricate recipes, while larger ones accommodate bulkier ingredients.
Selecting the right jar and cup sizes empowers you to experiment in the kitchen without constraints, ensuring efficiency and satisfaction with each use.
Specialty Jars for Tasks
Having explored the various size options and capacities of blender jars, understanding specialty jars can further enhance your KitchenAid appliance's versatility.
Specialty jars are designed for specific tasks, optimizing performance and results. Consider a high-impact jar for crushing ice or a single-serve jar for on-the-go convenience. Each jar type supports unique specialty uses, allowing you to tailor your blending experience.
When selecting jar materials, opt for durability and functionality. Glass jars provide clarity and are resistant to stains, while BPA-free plastic jars offer lightweight convenience and shatter resistance.
Stainless steel jars ensure longevity and are ideal for hot liquids. Understanding and choosing the right jar materials for your specific tasks enables you to maximize your KitchenAid blender's capabilities and enjoy greater culinary freedom.
Tips for Installing New Coupling Solutions in Your Appliance
Installing new coupling solutions in your KitchenAid appliance can seem intimidating, but with the right approach, it's straightforward.
First, verify your appliance is unplugged to prioritize safety. Refer to your user manual for specific coupling installation tips tailored to your model. Typically, you'll need a screwdriver to remove the base cover.
Gently slide the old coupling off its shaft. Clean the area to maintain peak appliance performance. Align the new coupling on the shaft, applying firm, even pressure until it clicks into place.
Secure the base cover back on. Regularly check the coupling, verifying it remains tight over time, as part of your appliance maintenance advice.
This simple task guarantees your KitchenAid continues to operate efficiently, granting you the freedom to create without interruption.
Comparing Original and Third-Party Replacement Parts
When deciding between original and third-party replacement parts for your KitchenAid appliance, it's essential to weigh the advantages and disadvantages of each option.
Original parts guarantee compatibility and maintain warranty coverage, ensuring your appliance functions as designed. However, they often come at a premium price.
If you value third-party reliability, these alternatives can be cost-effective without sacrificing performance. They offer freedom in choice, allowing you to select parts that suit your budget and needs.
Before purchasing, verify that third-party parts meet quality standards and specifications. Look for reviews from other users who've tested the reliability of these parts in real-world scenarios.
Ultimately, your decision should balance cost, performance, and peace of mind while keeping your KitchenAid running smoothly.
Maintaining the Longevity of Your KitchenAid Appliance
Maintaining your KitchenAid appliance's longevity involves several essential steps that guarantee peak performance and durability. Start with routine maintenance by inspecting the machine for any signs of wear. Regularly tighten loose screws and lubricate moving parts to secure seamless operation. Appliance cleaning is imperative; remove residue from the blade and bowl after each use to prevent buildup. Let's break this down further:
| Task | Frequency | Tools Needed |
|---|---|---|
| Inspect and tighten | Monthly | Screwdriver |
| Lubricate parts | Bi-annually | Food-safe lubricant |
| Clean residue | After use | Soft cloth, brush |
Adopting these steps liberates you from unexpected breakdowns, guaranteeing your KitchenAid remains a reliable kitchen companion for years. So, embrace this freedom through consistent care.
Enhancing Kitchenaid Performance With Upgraded Components
If you're aiming to elevate your KitchenAid's performance, upgrading its components is a strategic approach.
Start by considering performance upgrades like reinforced beaters and high-capacity bowls. These component enhancements improve efficiency and allow you to tackle larger, more complex recipes with ease. Opt for stainless steel whisks for durability and precision in mixing.
Reinforced beaters and high-capacity bowls enhance efficiency for tackling complex recipes effortlessly. Opt for stainless steel whisks for precision.
Next, assess your motor's capacity. A more powerful motor can handle tougher ingredients, guaranteeing smoother operation.
Don't overlook the drive coupling—choosing a robust coupling solution guarantees effective power transfer and prolongs appliance life.
Finally, explore options for advanced attachments like pasta rollers or food processors. These enhancements expand your culinary possibilities, providing the freedom to experiment and perfect your craft.
With these upgrades, your KitchenAid becomes a versatile kitchen powerhouse.
Conclusion
To keep your KitchenAid appliance performing at its best, consider that 70% of users report improved efficiency after replacing worn parts with high-quality replacements. When upgrading components like ingredient cups, jars, or coupling solutions, choose materials and brands that match your device's specifications. Install new parts carefully to maintain the appliance's longevity. By selecting compatible and durable replacement parts, you'll guarantee your KitchenAid continues to serve you efficiently and reliably for years to come.