To maintain your KitchenAid blender, verify it's unplugged before disassembly. Carefully remove and wash the pitcher and blades using eco-friendly cleaners and soft sponges. Use the original charger to prevent overcharging and monitor battery health. Regularly inspect components like blades, power cords, and seals for damage. Clean the base weekly to avoid residue buildup. Following these steps verifies your blender stays efficient. Discover more nuanced tips to prolong its lifespan and enhance performance.
Key Takeaways
- Unplug the blender before cleaning or disassembling to ensure safety.
- Use eco-friendly cleaners and soft materials to avoid damaging the blender.
- Regularly inspect the blades and power cord for wear or damage.
- Use the original charger and avoid overcharging for safe charging practices.
- Clean the base weekly and check the jar's seal to prevent residue buildup and leaks.
Proper Disassembly for Thorough Cleaning
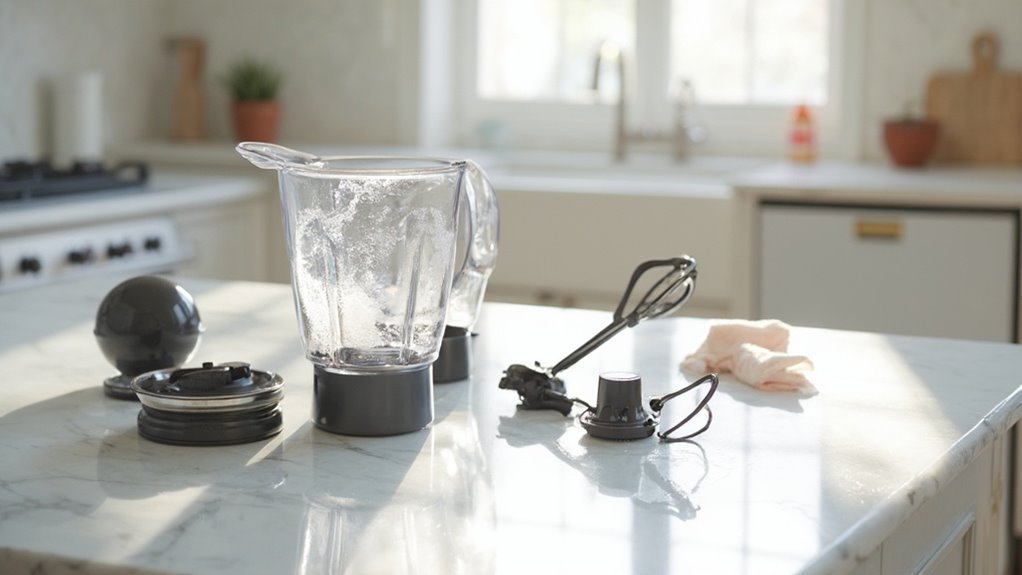
Before you begin disassembling your KitchenAid blender for thorough cleaning, make sure it's unplugged to prevent any electrical hazards.
Start by removing the pitcher from the base, maintaining a firm grip to avoid accidental drops.
Maintain a firm grip when removing the pitcher to prevent accidental drops.
Master disassembly techniques by unscrewing the blade assembly with caution, using a suitable tool to prevent damage.
Gently lift the blades and set them aside on a clean, dry surface.
Pay attention to component handling; each part should be treated with care to maintain peak performance.

Detach the control panel if necessary, using a soft cloth to protect the finish.
Remember, precise actions lead to efficient maintenance.
Choosing the Right Cleaning Supplies
To guarantee your KitchenAid blender remains in pristine condition, selecting the right cleaning supplies is essential. Opt for eco-friendly cleaners that effectively remove residue without harming your appliance or the environment.
Look for products specifically designed for kitchen appliances, as they balance strength with safety. Steer clear of abrasive materials such as steel wool or harsh scouring pads; these can scratch and damage the blender's surfaces, compromising both aesthetics and function.
Instead, use soft microfiber cloths or non-abrasive sponges to gently clean every nook and cranny. For stubborn grime, a soft-bristled brush can be your best ally.
Prioritize supplies that uphold your blend of freedom and responsibility, ensuring your blender stays spotless while minimizing environmental impact.
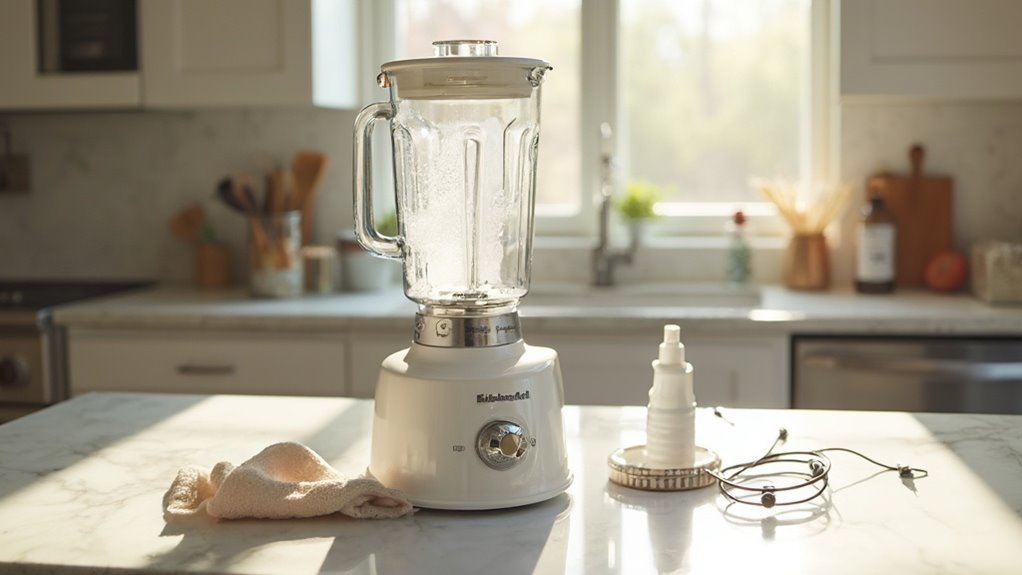
Step-by-Step Cleaning Process
Start by unplugging your KitchenAid blender to confirm safety.
Remove the jar from the base and separate the blade assembly. For ideal blender safety and performance, clean your blender after each use. Rinse the jar and blade under warm water to remove residue.
Separate the jar and blade, rinsing under warm water for optimal blender safety and performance.
Apply mild dish soap to a sponge, scrubbing the jar and blades carefully. Avoid submerging the base; instead, wipe it with a damp cloth.
Pay attention to the frequency of cleaning—more frequent use demands more diligent maintenance. For a deeper clean, fill the jar halfway with warm water and a drop of dish soap, then blend on low for 30 seconds. Rinse thoroughly.
Ascertain all parts are dry before reassembling. This method maintains efficiency and longevity.
Ensuring Safe Charging Practices
When maintaining your KitchenAid blender's efficiency, it's crucial to understand proper charging practices, especially if you own a cordless model.
Begin by using the original charger to guarantee compatibility and peak performance. Monitor the charge duration closely; overcharging can diminish the battery lifespan. It's typically recommended to unplug once fully charged, which is often indicated by the status light.
Allow your blender's battery to deplete occasionally before recharging, maximizing battery longevity. Avoid extreme temperatures during the charging process, as they can impact performance.
Tips for Routine Maintenance and Inspection
After confirming your KitchenAid blender is charged safely, focus on routine maintenance and inspection to keep it running efficiently. Start by inspecting the blades for dullness or damage, as this impacts blender performance optimization. Regularly check the power cord for wear to guarantee kitchen appliance longevity. Clean the base with a damp cloth to prevent residue buildup affecting functionality.
| Maintenance Task | Frequency |
|---|---|
| Blade Inspection | Monthly |
| Cord Examination | Bi-monthly |
| Base Cleaning | Weekly |
| Jar Seal Check | Every Use |
Always check the jar's seal for signs of wear or leaks; this simple step prevents major issues. By following these routine checks, you guarantee your blender remains a powerful kitchen ally, providing the freedom to create culinary masterpieces without interruption.
Conclusion
To maximize your KitchenAid blender's lifespan, remember that regular maintenance can prevent 80% of common malfunctions. Proper disassembly and using the right cleaning supplies guarantee a spotless blender, while safe charging practices protect its battery. Routine inspections help identify wear before it becomes a problem. By following these detailed steps, you secure peak performance and longevity for your appliance. Your diligence in care results in a consistently reliable kitchen tool, enhancing both functionality and durability.