To replace the coupling on your KitchenAid blender, first gather tools like a flathead screwdriver and a wrench. Unplug the blender and guarantee workspace safety. Secure the base while loosening the old coupling counterclockwise with the wrench. Align and install the new coupling, assuring a snug fit without overtightening. Test by plugging in the blender and running it on low speed to check for smooth operation. This foundational understanding sets the stage for mastering the process.
Key Takeaways
- Gather necessary tools, including a flathead screwdriver, wrench, and the correct replacement coupling for your blender model.
- Unplug the KitchenAid blender and place it on a stable, flat surface to ensure safety.
- Use a wrench to turn the old coupling counterclockwise and remove it from the drive shaft.
- Align and securely fasten the new coupling by turning it clockwise onto the drive shaft.
- Test the blender's functionality by gradually increasing speed to ensure smooth operation.
Gather Your Tools and Supplies
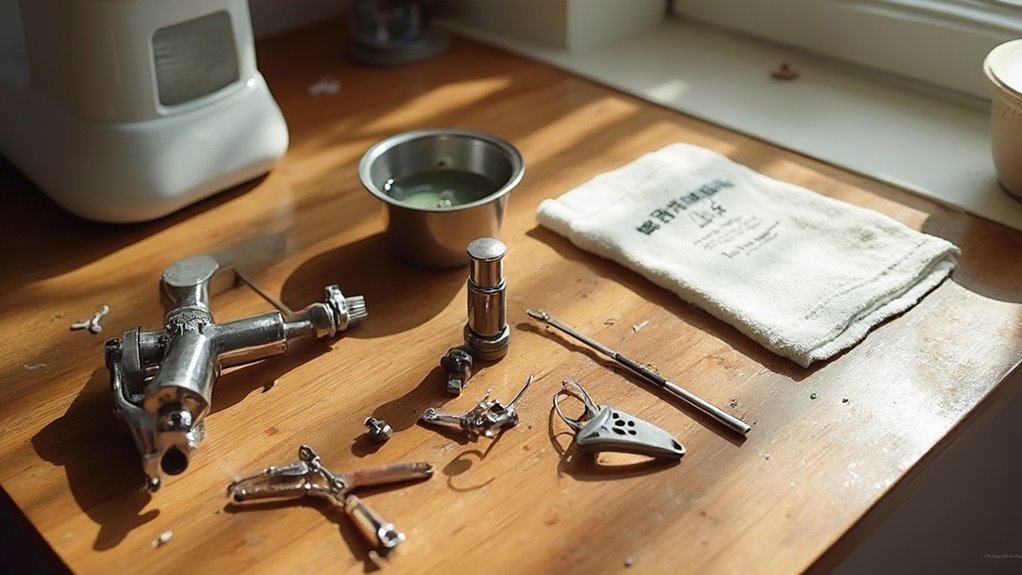
Before you begin replacing the coupling on your KitchenAid blender, make sure you have the necessary tools and supplies ready.
You'll need a flathead screwdriver, a wrench, and a replacement coupling. These are essential for a smooth and efficient process.
Applying kitchen maintenance tips, confirm your workspace is clean and organized to prevent misplacing tools. For effective blender cleaning techniques, wipe down the blender base and surrounding area to avoid dirt interference during the repair.
Gather all items before starting; this preparation grants you the freedom to focus solely on the task at hand without interruptions.
Check that your replacement coupling matches the model specifications of your blender. This attention to detail guarantees a seamless fit and prevents future issues, allowing you to maintain your kitchen appliance efficiently.
Unplug and Prepare Your Blender
With your tools and replacement coupling ready, focus on ensuring the safety of your workspace by unplugging your KitchenAid blender. This essential safety precaution prevents accidental activation, ensuring both your safety and effective blender maintenance.

Firmly grasp the plug, not the cord, and gently pull it from the outlet to avoid damage. Position your blender on a stable, flat surface, ensuring it's secure and won't tip during repairs.
Clear any clutter around your workspace to maintain an organized environment. This not only enhances safety but also streamlines the process, giving you the freedom to work efficiently.
Inspect the blender base for any visible debris or residue that could interfere with the maintenance. This attention to detail sets the foundation for a successful coupling replacement.
Remove the Old Coupling
To begin removing the old coupling, secure a firm grip on the blender's base while using a wrench or similar tool to hold the coupling in place.
Depending on coupling types, you may need to apply varying amounts of force. Rotate the wrench counterclockwise to loosen the coupling. Remember, during blender maintenance, patience is key. If stubborn, gently tap the wrench to break any resistance or debris holding it in place.
Confirm you're not applying excessive force, which could damage the blender's drive shaft. Once loosened, continue turning the coupling by hand until it comes off completely.
Keep the work area clear of obstructions, allowing you the freedom to maneuver around the blender with ease. This precision guarantees a smooth shift to the next stage.
Install the New Coupling
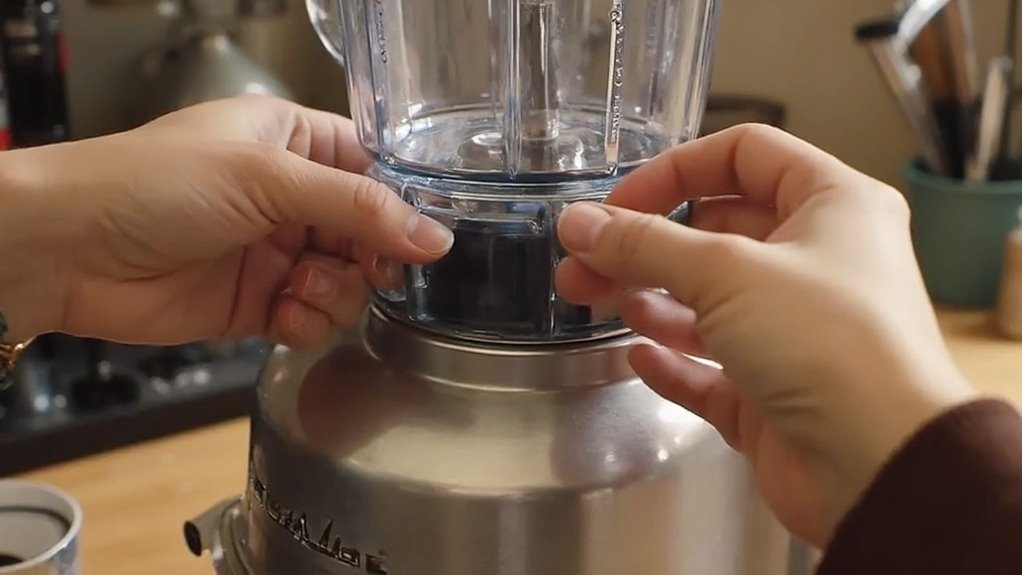
Align the new coupling onto the blender's drive shaft, making certain that the threads are properly matched.
Hold the coupling firmly with one hand while using your other hand to rotate it clockwise. This action secures the coupling in place, a vital step in effective blender maintenance.
Apply steady pressure, but avoid overtightening, as this could cause damage. Installing couplings requires precision; the threads must engage smoothly without forcing.
Once aligned, continue twisting until resistance is felt, indicating the coupling is securely fastened to the drive shaft. This careful approach guarantees the longevity of your KitchenAid blender.
Test Your Blender's Functionality
How effectively does your KitchenAid blender perform after installing the new coupling?
Begin by ensuring blender safety—make sure the device is unplugged before any testing begins. Secure the pitcher onto the base and plug the blender back in.
Start with low-speed settings, observing any unusual sounds or vibrations. Gradually increase the speed to determine if the blades rotate smoothly without interruption. Pay attention to the coupling; it should remain stable and secure.
Conduct functionality testing by blending a small amount of water. This test helps confirm that the coupling is properly installed and the blender operates efficiently.
If everything functions as expected, your KitchenAid blender is ready for everyday use, offering you the freedom to blend with confidence and ease.
Conclusion
With your new coupling installed, your KitchenAid blender is ready to tackle any blending task. Did you know that a well-maintained blender can last over 10 years with regular use? By replacing the coupling, you've extended your blender's lifespan and guaranteed peak performance. Always remember to periodically check and maintain other parts of your blender. This simple maintenance task not only saves money but also keeps your kitchen running smoothly. Happy blending!