To clean your Ninja blender effectively, unplug it first to avoid electrical hazards. Disassemble by removing the pitcher, lid, and blade assembly. Clean the cups and blades using warm soapy water and a non-abrasive brush, then dry with a microfiber cloth. Wipe the base with a damp cloth, ensuring it's unplugged. Reassemble by aligning components correctly. Maintain your blender regularly to extend its life and boost performance. Keep going to uncover more detailed instructions.
Key Takeaways
- Always unplug the blender before cleaning to ensure safety and prevent electrical hazards.
- Wipe the blender base with a damp cloth, avoiding water submersion to protect electrical components.
- Rinse blender cups with warm soapy water immediately after use for best results.
- Use a non-abrasive sponge to scrub cups thoroughly, ensuring all soap is rinsed off.
- Dry all components completely with a lint-free cloth to prevent rust and odors.
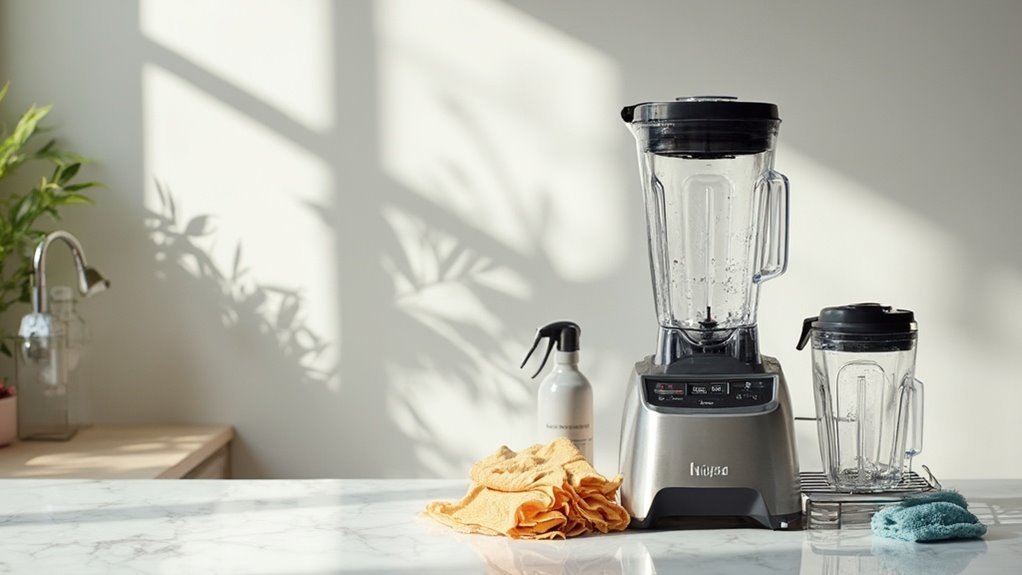
Gathering Your Cleaning Supplies

To effectively clean your Ninja blender, you'll need a few essential supplies.
Begin by gathering tools such as a soft sponge, mild dish soap, and a non-abrasive brush. These cleaning supplies are vital for maintaining your blender's pristine condition without causing damage.
Gather a soft sponge, mild dish soap, and a non-abrasive brush to protect your blender while cleaning.
Opt for a brush with soft bristles to reach the blades and crevices. You'll also want a microfiber cloth for drying, as it prevents streaks and scratches.
White vinegar can be useful for deeper cleaning, dissolving stubborn residue, and guaranteeing hygiene.
Don't forget to have warm water ready; it's important for rinsing and diluting soap.
Disassembling Your Ninja Blender
To begin disassembling your Ninja Blender, make sure it's unplugged to prioritize your safety.
Identify each component, including the pitcher, blade assembly, and lid, before proceeding with removal.
Follow the proper steps to separate these parts, taking care to handle the blades cautiously to avoid injury.
Proper Disassembly Steps
Disassembling your Ninja Blender properly involves a few essential steps to guarantee safety and effectiveness.
Begin by unplugging the blender to prevent any accidental activation from occurring. Identify the components: the pitcher or cup, lid, and blade assembly.
Mastering disassembly techniques requires understanding each part's role. Remove the pitcher or cup by twisting it counterclockwise. Next, detach the lid and set it aside.
Carefully grasp the blade assembly and lift it out, making sure you avoid direct contact with the sharp edges. If your model includes a base with removable parts, consult your manual for specific instructions.
Keep the components organized, allowing for seamless cleaning and reassembly. By following these steps, you maintain your blender's performance without compromising your independence or efficiency.
Safety Precautions First
Guaranteeing your safety while disassembling your Ninja Blender is paramount.

Begin by unplugging the blender to eliminate any risk of electrical shock. Always prioritize electrical precautions to safeguard your well-being. Gather necessary safety gear, such as cut-resistant gloves, to protect your hands from sharp blades. Position the blender on a stable, dry surface to prevent accidental slips.
Before proceeding, verify your workspace is well-lit, allowing you to clearly see each component. Approach the task with a calm and focused mindset, avoiding distractions.
Handle each part cautiously, respecting their mechanical complexity. By taking these steps, you'll maintain control over the process without compromising safety.
Identifying Blender Components
Understanding the various components of your Ninja Blender is vital for effective maintenance and cleaning. Each blender type, whether it's a standard countertop model or a compact personal blender, consists of several key parts.
Begin by identifying the base, which houses the motor and controls the power and speed functions. Next, focus on the blade assembly; it's essential for breaking down ingredients and requires careful handling.
The pitcher or cup connects to the base and holds your ingredients, while the lid guarantees no spillage during blending.
To disassemble, unplug the unit, twist and remove the cup or pitcher, then detach the blade assembly carefully. Familiarizing yourself with these component functions guarantees your Ninja Blender remains in top condition, ready for use anytime.
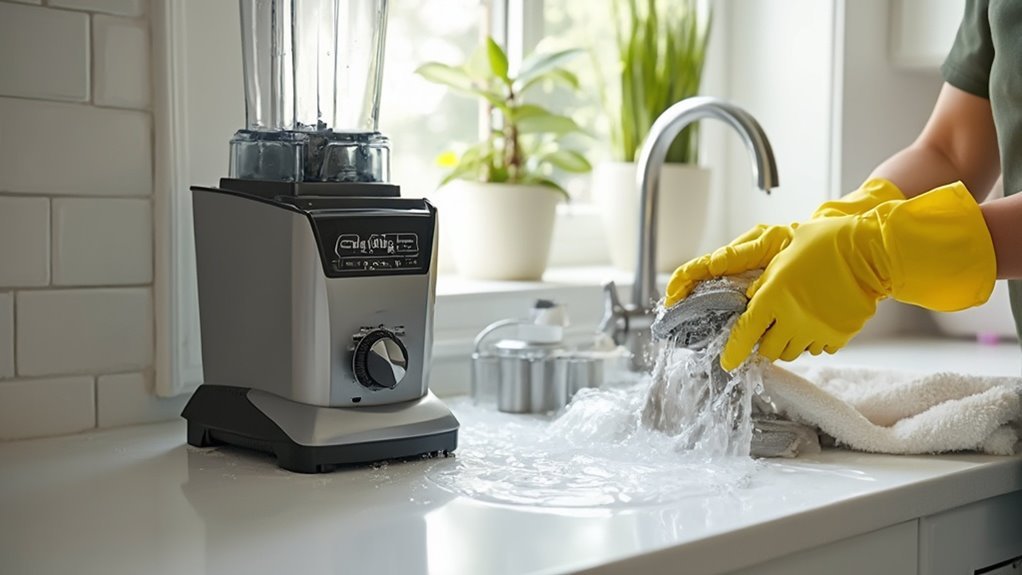
Cleaning the Blender Cups
To clean your blender cups, start by rinsing them with warm soapy water immediately after use to prevent residue buildup.
For a thorough clean, use deep cleaning techniques such as soaking the cups with a mixture of vinegar and baking soda.
Once cleaned, make sure the cups are completely dry before storing them to prevent odors and bacterial growth.
Soap and Water Rinse
Begin by thoroughly rinsing the blender cups under warm running water to remove any obvious food particles.
Employ effective rinse techniques, making sure you tilt and rotate the cups for ideal water flow.
Choose a mild dish soap type to avoid damaging the material.
Apply a small amount of soap to a non-abrasive sponge or cloth.
Gently scrub the interior and exterior surfaces of the cups, paying attention to any grooves or crevices where residue might hide.
Once scrubbed, rinse the cups thoroughly under warm water to guarantee all soap is removed.
Tilt them to let the water run clear.
Finally, dry the blender cups completely with a clean towel, or allow them to air dry, confirming they're ready for your next culinary adventure.
Deep Cleaning Techniques
When it's time for deep cleaning your Ninja blender cups, focus on tackling any stubborn residues or lingering odors.
Start by filling the cup halfway with warm water and adding a few drops of dish soap. Secure the cup to the base and blend on low for 30 seconds. This loosens particles and maximizes deep cleaning benefits.
Rinse thoroughly and inspect for remaining debris. For persistent odors, create a mixture of baking soda and water. Let it soak for 15 minutes, then rinse.
The recommended deep cleaning frequency is every two weeks, ensuring peak performance and longevity. Regular deep cleaning not only maintains cleanliness but also provides the freedom to enjoy fresh, flavorful blends without compromise.
Drying and Storage Tips
After confirming your Ninja blender cups are thoroughly cleaned, proper drying and storage become essential to maintaining their condition.
Start by placing the cups upside down on a dish rack to facilitate ideal air circulation. This prevents moisture build-up, which can lead to mold or unpleasant odors. Allow them to dry completely before considering storage options.
Once dry, store the cups in a well-ventilated area. If you're using storage containers, confirm they're also dry and free from any contaminants.
Avoid stacking the cups too tightly to maintain airflow and prevent unwanted pressure on the material. This approach preserves the integrity of your blender cups, extending their longevity and confirming they remain ready for your next culinary adventure.
Cleaning the Blender Blades
To clean the blender blades effectively, start by unplugging your Ninja blender to guarantee safety.
Carefully detach the blade assembly from the base. Rinse the blades under warm running water to remove initial debris.
For thorough blender blade care, fill a bowl with warm water and a few drops of dish soap. Submerge the blades and gently scrub with a soft brush, focusing on crevices.
Rinse thoroughly to remove soap residue. Dry the blades completely with a soft towel to prevent moisture accumulation, a key step in blade rust prevention.
Regularly inspect for any signs of wear or damage, ensuring peak performance.
Cleaning the Blender Base
Although often overlooked, maintaining the cleanliness of your Ninja blender base is essential for its best performance and longevity.
Keeping your Ninja blender base clean ensures optimal performance and extends its lifespan.
Start by unplugging the blender to guarantee safety. Wipe down the base with a damp cloth, focusing on the control panel and any crevices where spills may accumulate. Remember, the base materials require gentle care to avoid damage.
- Use a mild detergent: Mix with water for stubborn stains.
- Check the cleaning frequency: Aim for a thorough clean after every use.
- Avoid submersion: Keep the base away from running water to prevent electrical damage.
Implementing these steps will keep your Ninja blender base in top condition, assuring it supports your culinary endeavors with freedom and efficiency.
Regular maintenance will contribute to the longevity and performance of your appliance.
Drying and Reassembling the Blender
Once you've completed the cleaning process, make sure that each component of your Ninja blender is thoroughly dry before reassembling.
Utilize effective drying techniques, such as air drying or using a lint-free cloth to absorb moisture. Pay special attention to the blades and base, making certain no water remains in crevices. This prevents rust and prolongs your blender's lifespan.
For reassembling, follow these tips: start by placing the blades securely in the cup, making sure they align correctly.
Next, attach the cup to the base by twisting it clockwise until you hear a click. This secures the components, maintaining the blender's performance.
Double-check that all parts are snugly fit. With these steps, you've made certain your Ninja blender is ready for its next use.
Regular Maintenance Tips
A consistent maintenance routine is crucial to keep your Ninja blender in peak working condition. Regular use demands that you implement a few simple yet effective practices to guarantee ideal performance and longevity.
First, always unplug your blender before cleaning to avoid any electrical hazards. Next, inspect the blades frequently to detect any signs of wear or damage. Replace them if necessary to maintain efficiency.
Unplug your blender before cleaning to prevent electrical hazards; inspect and replace blades to ensure efficiency.
Finally, clean the motor base with a damp cloth to remove any residue that could affect performance.
- Unplug before cleaning: Prioritize safety by disconnecting from power.
- Inspect blades: Check regularly for wear and replace if needed.
- Clean motor base: Use a damp cloth to wipe away residue.
Conclusion
Coincidentally, mastering the art of cleaning your Ninja blender not only guarantees its longevity but also enhances your culinary adventures. By gathering the right supplies, carefully disassembling each part, and meticulously cleaning the cups, blades, and base, you maintain peak performance. Remember to dry thoroughly and reassemble with precision. Regular maintenance, as you've just learned, transforms a routine task into a rewarding ritual, guaranteeing your blender's reliability just when you need it most. Stay diligent, and enjoy seamless blending!