To maximize your Hamilton Beach blender's efficiency, familiarize yourself with its vital components. The blade assembly, made typically of stainless steel, guarantees smooth operation. Jars, either glass or BPA-free plastic, offer various sizes with precise measurement markings. Lids securely seal during blending, often featuring pour spouts for convenience. The base unit houses a powerful motor with intuitive controls. Regular maintenance, including thorough cleaning and parts inspection, guarantees longevity. There's more to explore beyond these essentials.
Key Takeaways
- Blade assembly ensures efficient blending and includes durable stainless steel blades securely connected to the motor base.
- The jar is made of high-quality glass or BPA-free plastic with measurement markings for precise ingredient control.
- Lids are designed to prevent spills, with some featuring pour spouts and removable center caps for adding ingredients mid-blend.
- The base unit includes a user-friendly control panel with power, speed settings, pulse options, and indicator lights for intuitive use.
- Regular maintenance involves cleaning all parts thoroughly and inspecting for wear to ensure the longevity and performance of the blender.
Understanding the Blade Assembly
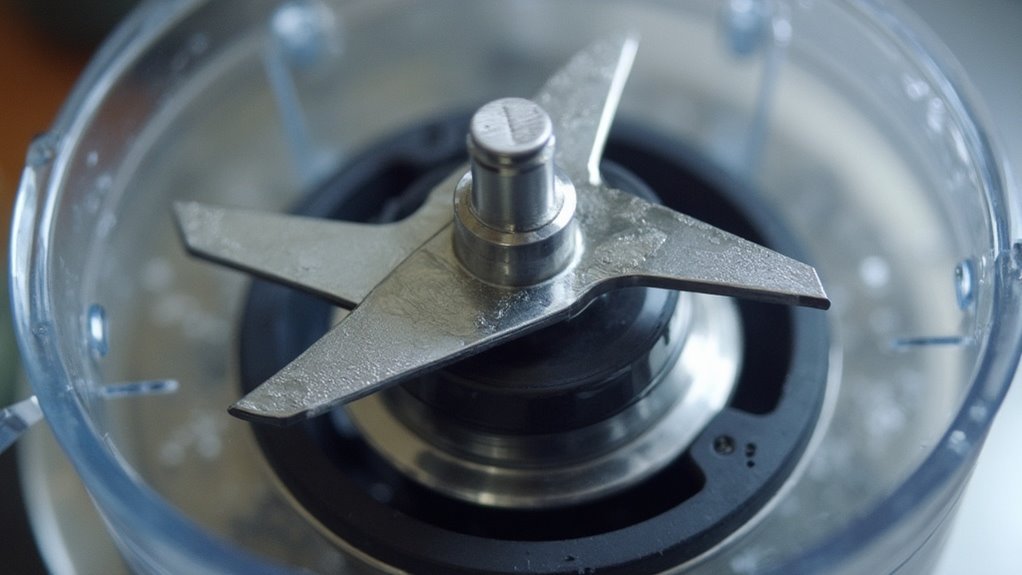
The blade assembly is the heart of your Hamilton Beach blender, playing an essential role in its performance and efficiency. Understanding the different blade types and their assembly process empowers you to maximize your blender's capabilities.
Understanding blade types and assembly maximizes your Hamilton Beach blender's performance and efficiency.
Typically, the assembly includes durable stainless steel blades designed for various tasks, from crushing ice to pureeing soups. The assembly process involves carefully connecting these blades to the motor base, ensuring they're secure and properly aligned.
This precision allows for smooth operation and ideal blending results. By knowing the specifics of your blender's blade types and assembly, you gain the freedom to experiment with diverse recipes and textures.
Embrace this knowledge, and you'll harness the full potential of your Hamilton Beach blender.

Identifying the Jar and Its Components
When exploring the components of your Hamilton Beach blender jar, you'll find it's designed for both functionality and durability. The jar materials typically include high-quality glass or BPA-free plastic, ensuring safety and longevity. Various jar sizes accommodate your blending needs, from single-serve options to larger capacities for family meals. Each jar has measurement markings, allowing precise control over your ingredients.
| Component | Description | Material |
|---|---|---|
| Jar Body | Main container for blending | Glass/Plastic |
| Handle | Easy grip for pouring | Integrated |
| Measurement | Markings for ingredient precision | Etched/Printed |
| Base Connector | Secures jar to the motor base | Durable Plastic |
Understanding these components empowers you to optimize your blending experience, offering the freedom to create culinary delights with confidence.
Exploring the Lid and Cap Features
Exploring the lid and cap features of your Hamilton Beach blender reveals a range of functionalities designed to facilitate your blending tasks.
You'll find various lid types crafted to guarantee a secure seal, preventing spills and splashes during operation. Some lids include built-in pour spouts, allowing you to add ingredients without removing the entire lid.
Cap designs vary as well, offering options like removable center caps that enable you to incorporate ingredients mid-blend. This flexibility lets you experiment with recipes while keeping control over the blending process.
Removable center caps allow ingredient additions mid-blend, letting you experiment and maintain control over the blending process.
Each component is engineered for effortless cleaning and maintenance, freeing you to focus on creativity in the kitchen.
Embrace the freedom these lid and cap innovations provide, optimizing each blend to your satisfaction.
Navigating the Base Unit and Controls
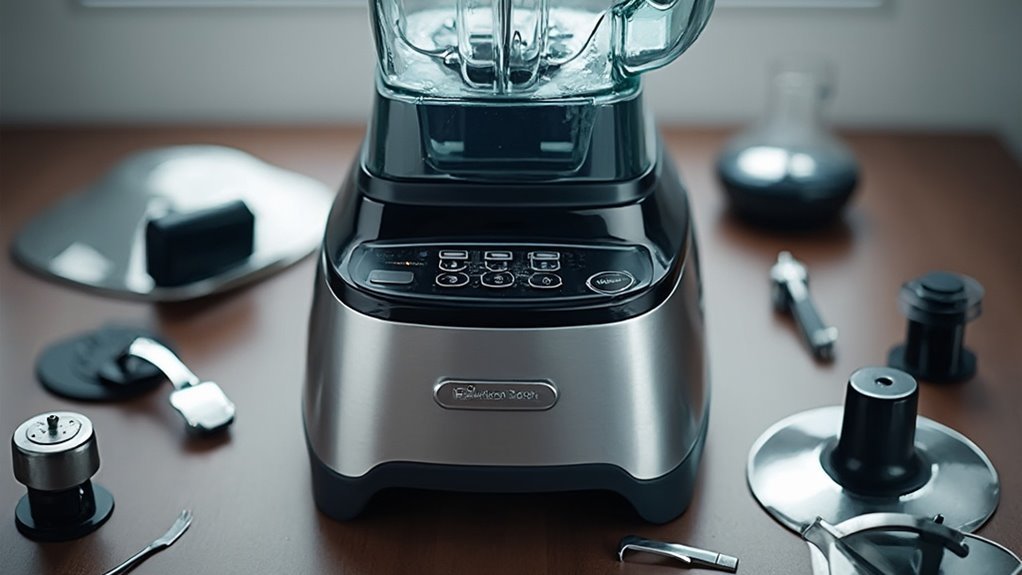
Moving from the versatile lid and cap features, your attention now turns to the heart of the Hamilton Beach blender—the base unit and its controls. This is where the magic begins. The base unit securely houses the motor, providing stability and power. The control panel offers intuitive, user-friendly options for seamless blending. Here's a quick reference:
| Feature | Description |
|---|---|
| Power Button | Turns the blender on/off |
| Speed Settings | Adjusts blending intensity |
| Pulse Option | Provides short, controlled bursts |
| Indicator Lights | Show operational status |
Understanding these components gives you the freedom to experiment with various textures and consistencies. The control panel's simplicity means you can focus on creativity, not complexity. Embrace the potential of precision control and release your culinary adventures.
Tips for Maintaining and Replacing Parts
While owning a Hamilton Beach blender opens up a world of culinary possibilities, maintaining it guarantees consistent performance and longevity.
Proper care involves regular blender cleaning and verifying part compatibility when replacements are necessary. Here's how you can keep your blender in prime shape:
Regular maintenance ensures your Hamilton Beach blender remains efficient and reliable for years to come.
- Blender Cleaning: Disassemble the unit and clean each part thoroughly after every use. Use mild soap and warm water to prevent residue build-up that can affect performance.
- Inspect Parts Regularly: Check for worn or damaged parts, such as blades or seals. Early detection helps prevent costly repairs or replacements.
- Verify Part Compatibility: When replacing parts, confirm that new components are compatible with your specific blender model. This verifies peak functionality and avoids unnecessary breakdowns.
Conclusion
Think of your Hamilton Beach blender as a trusty ship, steering through the seas of culinary creation. The blade assembly is your vessel's keel, cutting through ingredients with precision. The jar and its components are the sturdy hull, holding everything together. The lid and cap are the sails, ensuring a smooth journey without spills. The base unit and controls are your reliable compass, guiding each blend. Maintain these parts well, and your ship will sail smoothly for years.