

Start by unboxing and placing your Keurig on a stable, heat-resistant surface near an outlet. Plug it in and press the power button. Perform a cleaning brew with just water to rinse internal parts. Add water to the reservoir. Insert a K-Cup coffee pod, select your cup size, and press the brew button. Regular cleaning, including descaling every three months, is essential for maintenance. Discovering more tips will enhance your brewing experience.
Key Takeaways
- Unbox the Keurig, place it on a stable surface, and plug it in near an outlet.
- Perform an initial cleaning brew with water to clean the internal components.
- Insert the K-Cup with foil lid facing up and select desired cup size.
- Press the brew button once the heating indicator lights up to start brewing.
- Regularly clean and descale the machine to maintain optimal performance.
Unboxing and Setting Up Your Keurig
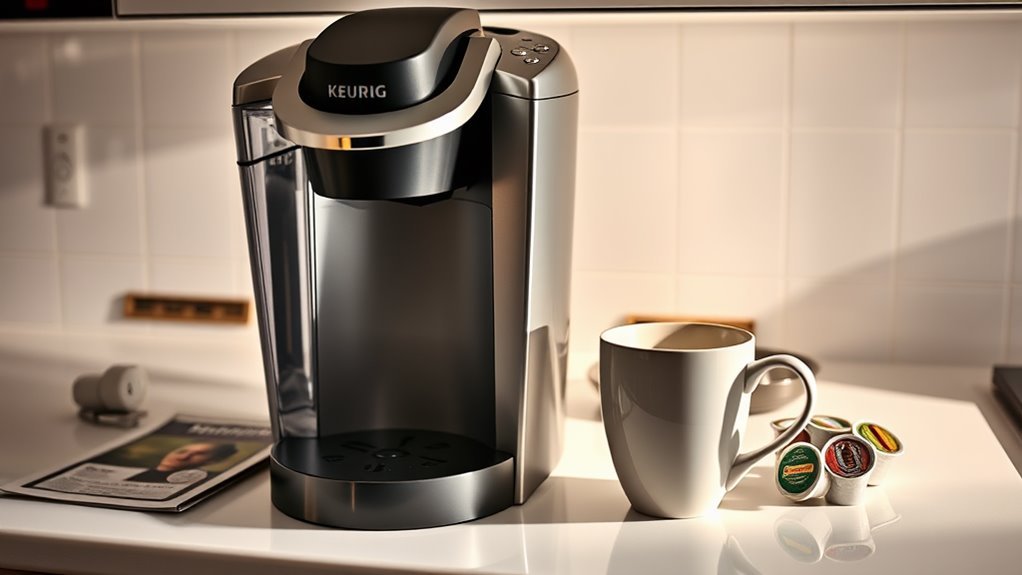
When you first receive your Keurig coffee maker, begin by carefully unboxing it to confirm all components are included and undamaged. Your unboxing experience should be meticulous; inspect the water reservoir, drip tray, and power cord.
Once confirmed, place your Keurig on a stable, heat-resistant surface near an outlet. For ideal setup, guarantee adequate clearance around the machine for ventilation. Plug in the power cord and turn on your Keurig by pressing the power button.
Prior to brewing, perform an initial cleaning brew with just water. Fill the reservoir with fresh water, place a mug on the drip tray, and run a brew cycle without a pod. This cleans the internal components, ensuring your first brew is fresh and flavorful.
Understanding the Components of Your Keurig
To efficiently operate your Keurig, familiarize yourself with its key components: the K-Cup holder, water reservoir, and main unit.
The K-Cup holder is designed to securely house your coffee pod, puncturing it precisely to allow ideal water flow.
Regularly check the water reservoir, ensuring it’s filled to the appropriate level to prevent any interruption in brewing cycles.
Keurig Machine Parts
A Keurig coffee maker is a marvel of modern convenience, and understanding its components will enhance your brewing experience.
Immerse yourself in the anatomy: the water reservoir, drip tray, and brew head are fundamental. The water reservoir stores water—keep it clean for peak keurig machine maintenance. The drip tray captures overflow; it’s removable for easy cleaning. The brew head, where magic happens, punctures the K-Cup and dispenses coffee.
Regular descaling is essential for longevity. Encounter issues? Keurig troubleshooting tips include checking the needle for clogs or verifying the reservoir is seated correctly.
Familiarize yourself with these parts, and you’ll have the freedom to brew without a hitch. Mastery over your machine guarantees every cup is impeccable.
K-Cup Holder Functionality
Having familiarized yourself with the fundamental components of your Keurig machine, let’s focus on the functionality of the K-Cup holder—an integral part of the brewing process.


The K-Cup holder is designed for maximum K-Cup compatibility, ensuring seamless interaction with various K-Cup varieties. To insert a K-Cup, lift the handle to reveal the holder, then place the K-Cup inside, aligning it properly. The holder’s piercing needle punctures the K-Cup’s lid for efficient brewing.
Ensure you regularly check the holder for any coffee grounds or residue to maintain peak performance.
When not in use, consider K-Cup storage solutions to keep your coffee pods organized and ready for your next brew.
Understanding these elements will enhance your Keurig experience, offering you unparalleled convenience and freedom.
Water Reservoir Basics
The water reservoir, an essential component of your Keurig coffee maker, is where the brewing process begins.
It’s vital to understand the reservoir capacity, as overfilling can lead to spills, while underfilling might result in insufficient water for brewing. To guarantee peak performance, always check water quality before filling; using filtered or bottled water can prevent mineral buildup and enhance taste.
Locate the reservoir on your machine’s side or back, and remove it by lifting it from its base. Fill it to the marked maximum fill line, avoiding contaminants. Once filled, securely attach it back to the machine.
Regularly clean the reservoir with mild soap and water to maintain hygiene and efficiency. Enjoy the freedom of brewing your perfect cup.
Filling the Water Reservoir
Before you start brewing, verify the Keurig coffee maker’s water reservoir is correctly filled to facilitate efficient operation.
First, assess the water quality. Use filtered water to optimize flavor and reduce mineral buildup, enhancing machine longevity.
Secure the reservoir from the machine, noting the reservoir capacity, typically marked inside. Avoid exceeding this limit to prevent overflow.
For a seamless refill, open the lid and pour water steadily until reaching the “Max Fill” line.
Reattach the reservoir to the Keurig, ensuring it clicks into place to maintain water flow integrity.
This step guarantees the machine’s sensors accurately detect water levels, preventing operational errors.
Powering On and Heating Up
With the water reservoir securely in place, you’re ready to power on your Keurig coffee maker.
Locate the power button, typically found on the top or side of the machine. Press it firmly; you’ll notice the machine spring to life as the internal components engage.
The heating indicator will light up, signifying that the water is being heated to the ideal brewing temperature. This process typically takes a couple of minutes, but don’t worry—you’re one step closer to that perfect cup of coffee.
During this time, the Keurig’s advanced heating element guarantees consistent temperature control, vital for extracting rich flavors.
Stay patient and let the machine complete its cycle before moving to the next steps. Enjoy the freedom of brewing excellence!
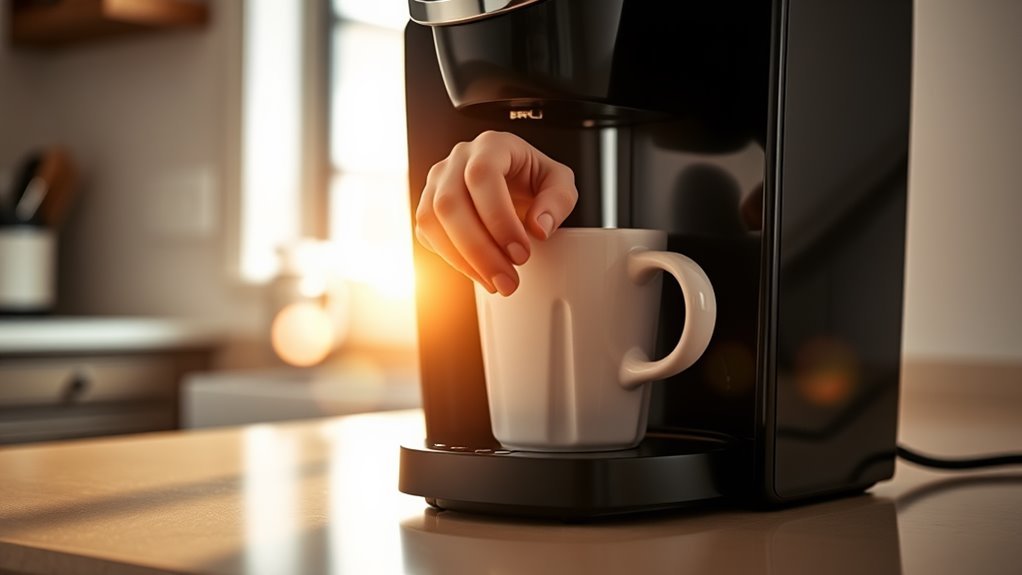
Inserting the Coffee Pod
Once the machine is heated, it’s time to insert your coffee pod. Lift the Keurig’s handle to reveal the pod chamber.
Carefully select from the various coffee pod types available—whether you’re in the mood for a bold espresso or a smooth breakfast blend. Make sure the pod is stored properly in a cool, dry place to maintain freshness.
Place your chosen pod into the chamber with the foil lid facing up. Press down slightly to secure it, confirming it’s correctly seated. Lower the handle until it clicks into place, signifying the brewer is ready for the next operation.
Selecting Your Desired Cup Size
Choosing the right cup size is essential to achieving your perfect brew. Your Keurig offers multiple cup size options that directly influence your brew strength.
Start by identifying the available buttons, typically ranging from 4 oz to 12 oz, allowing you to calibrate your ideal coffee-to-water ratio. A smaller cup size, such as 4 oz, yields a more robust, concentrated brew, perfect for those who crave intensity.
Conversely, selecting a larger size, like 12 oz, results in a milder flavor profile, ideal for savoring over time. To adjust, simply press the button corresponding to your desired volume before initiating the brewing process.
Gain mastery over these settings to reveal the potential for a personalized coffee experience that aligns with your taste and lifestyle preferences.
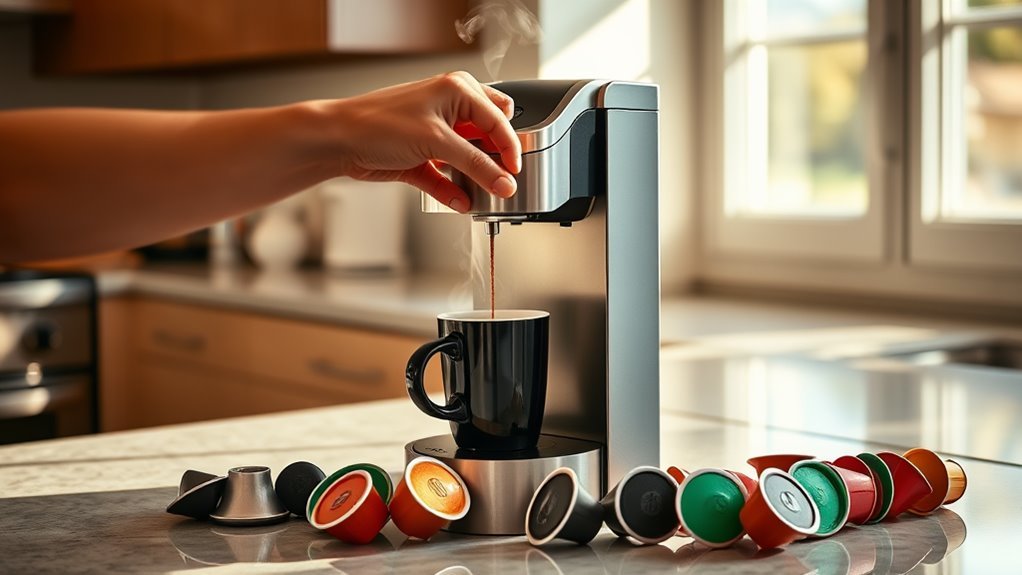
Brewing Your Coffee
After selecting your desired cup size, you’re ready to brew your coffee with precision.
Begin by lifting the handle to insert your chosen coffee pod. Keurig offers a plethora of coffee varieties, from robust dark roasts to aromatic blends. Close the handle securely, ensuring the pod is punctured for ideal extraction.
Engage the brewing process by pressing the flashing brew button. Your Keurig utilizes cutting-edge brewing techniques, heating water swiftly and forcing it through the pod at high pressure—maximizing flavor and aroma.
Watch the brew stream into your cup, a tailored experience promising both convenience and quality.
Once the brewing cycle completes, carefully remove your cup. Savor your freshly brewed coffee, embracing the freedom to explore different flavors and strengths effortlessly.
Enjoy your perfect cup!
Cleaning and Maintaining Your Keurig
Maintaining your Keurig is essential for peak performance and longevity. Establish a cleaning schedule to guarantee ideal function. Here are maintenance tips to keep your machine running smoothly:
- Descale regularly: Every three months, use a descaling solution to remove mineral buildup. This prevents clogs and enhances brew quality.
- Clean the drip tray: Empty and wash it weekly with warm soapy water. This prevents overflow and keeps your brewing area tidy.
- Rinse the water reservoir: Monthly, use a damp cloth to wipe it down. This avoids mold and bacteria, promoting a fresh taste.
- Check the needle: If your Keurig’s flow is restricted, use a paperclip to gently remove debris from the needle.
These steps guarantee freedom from unexpected breakdowns and maintain your Keurig’s efficiency.
Conclusion
Congratulations, you’ve just revealed the secrets of the universe by mastering your Keurig coffee maker! With these steps, you’re now a brewing wizard ready to conjure the perfect cup every time. Remember to keep your Keurig’s water reservoir filled and its parts clean for peak performance. By following these simple guidelines, you’ll guarantee that your coffee experiences are always stellar. So, go forth and brew with confidence, knowing your mornings will never be ordinary again!