
To repair your KitchenAid blender, systematically tackle common issues. Start by inspecting for leaks, examining the jar's seal and blade assembly for wear or cracks. Check the motor for unusual noises or overheating. Utilize a Phillips screwdriver and pliers for disassembly. Secure loose couplings and cords, and verify the power supply. Conduct routine maintenance, cleaning components with warm, soapy water. With these steps, you'll soon achieve the best blender performance and explore deeper into effective blender care.
Key Takeaways
- Examine the jar's bottom and blade assembly for misaligned or worn seals to prevent leaks.
- Inspect and replace the rubber gasket in the blade assembly if leaking persists.
- Ensure couplings are free of visible damage and replaced if cracked or excessively worn.
- Verify the blender is securely plugged into a working outlet to address power issues.
- Clean and lubricate seals regularly to maintain optimal blender performance and prevent leaks.
Identifying Common Blender Issues
When does your KitchenAid blender start showing signs of trouble?
You'll notice a decline in blender performance when it's struggling to blend smoothly or making unusual noises.
Examine the power cord and plug for damage. Verify the jar is seated properly on the base.
If the motor overheats or emits a burning smell, it's time to investigate further.
Check for leaks around the blade assembly by inspecting for worn seals or cracks. Misaligned blades can hinder performance, so verify they're tight and properly positioned.
Utilize troubleshooting tips like resetting the blender by unplugging it for a few minutes. Assess if the speed settings respond correctly.
These steps will guide you in identifying issues, empowering you to maintain your blender without unnecessary constraints.
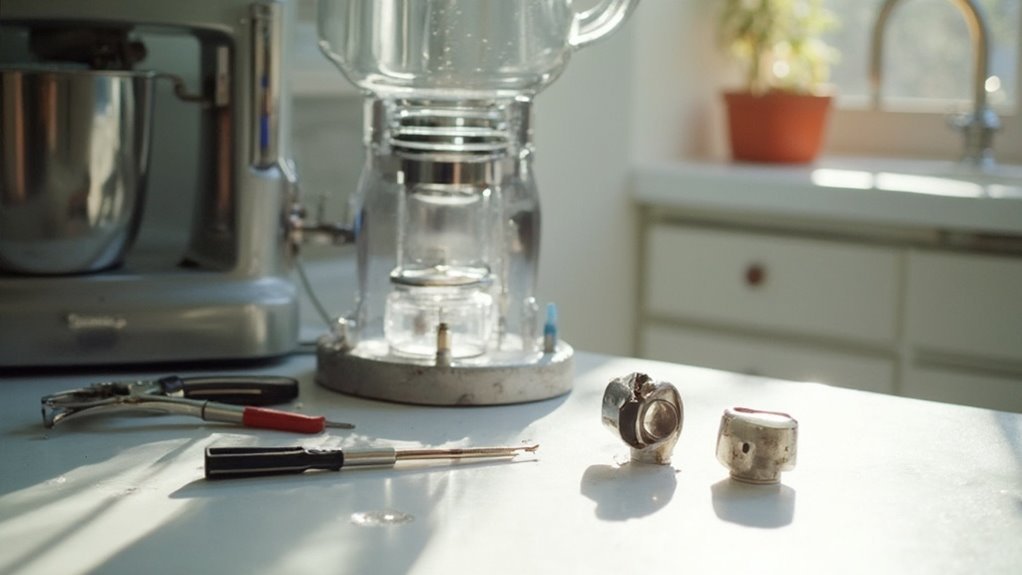
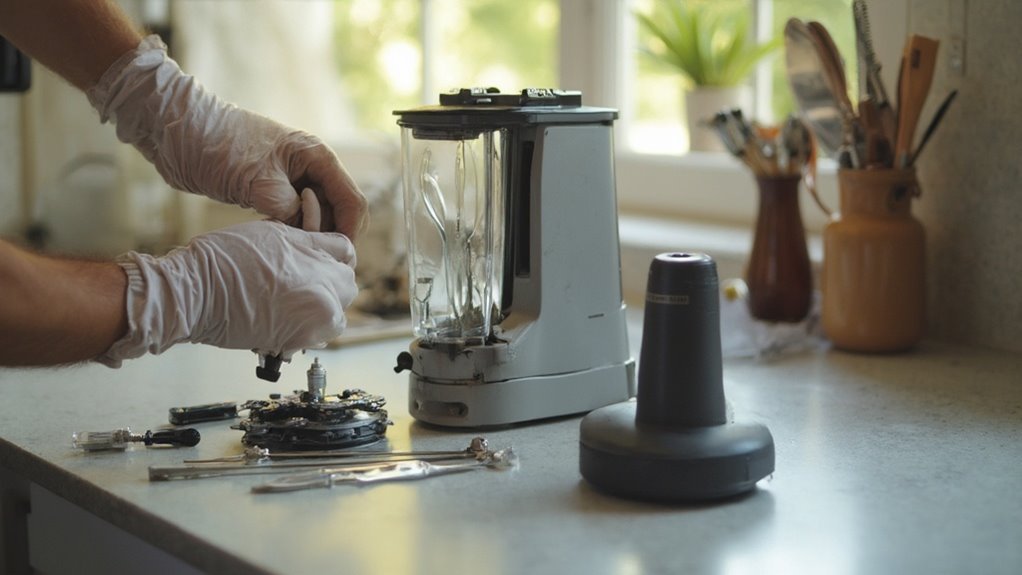
Essential Tools for Blender Repair
To effectively repair your KitchenAid blender, having the right tools is vital. Start by gathering a variety of screwdriver types; a Phillips and a flathead are essential for dismantling the blender's housing. Pay attention to torque specifications to guarantee you don't over-tighten or strip screws. A torque wrench helps achieve precision without damaging components. Pliers, both needle-nose and slip-joint, are useful for gripping and maneuvering small parts.
Here's a quick reference table:
| Tool Type | Purpose |
|---|---|
| Phillips Screwdriver | Removing screws |
| Flathead Screwdriver | Opening blender housing |
| Torque Wrench | Guaranteeing correct torque |
| Needle-Nose Pliers | Gripping small parts |
| Slip-Joint Pliers | Adjustable grip for various tasks |
Equipped with these tools, you're ready to tackle most blender repairs, granting you the freedom to fix and maintain your KitchenAid with confidence.
Diagnosing and Fixing Blender Leaks
Before diving into repairs, make sure you've accurately identified the source of the leak in your KitchenAid blender, as this will streamline the fixing process.
Start by examining the jar's bottom and blade assembly. A common issue is a worn or misaligned seal, which can be resolved with a seal replacement guide. Remove the blade assembly, inspect the rubber gasket, and replace it if necessary. Verify all parts are reassembled tightly.
For leak prevention tips, routinely check the jar for cracks and keep the seals clean and lubricated. Over-tightening can damage threads, so handle components with care.
Be methodical; attention to detail empowers you with the freedom to maintain your blender's performance without unnecessary constraints.
Replacing Worn-Out Couplings
To replace worn-out couplings on your KitchenAid blender, start by identifying any visible damage such as cracks or excessive wear.
Once you've confirmed the need for replacement, gather the necessary tools and a compatible coupling.


Carefully install the new coupling by aligning it correctly and securing it tightly to guarantee smooth operation.
Identifying Damaged Couplings
When your KitchenAid blender starts showing signs of inefficiency, identifying damaged couplings is a critical step in restoring its ideal performance.
Begin by inspecting the coupling material for signs of wear and tear. Common wear indicators include cracks, brittleness, or deformation.
Here's how you can identify if a coupling needs replacement:
- Visual Inspection: Examine the coupling for any visible damage or irregularities that disrupt its function.
- Test the Engagement: Listen for unusual noises during operation, which can signal a loose or misaligned coupling.
- Check for Slippage: If the blades aren't spinning efficiently, the coupling might be worn out, unable to grip the motor shaft securely.
Installing New Couplings
Once you've identified a worn-out coupling, replacing it's a straightforward process that restores your KitchenAid blender's performance.
First, determine the correct coupling type for your model. Unplug the blender for safety, then remove the pitcher. Use a flathead screwdriver to gently pry off the old coupling by turning it counterclockwise. Be cautious not to damage the motor threads.
Before installing the new coupling, verify it matches your model specifications. Align the new coupling with the motor shaft threads and turn it clockwise until secure.
Installation tips include applying gentle pressure and avoiding over-tightening to prevent damage. Reassemble your blender, plug it in, and test the functionality.
With these steps, you regain control over your appliance's efficiency and performance.
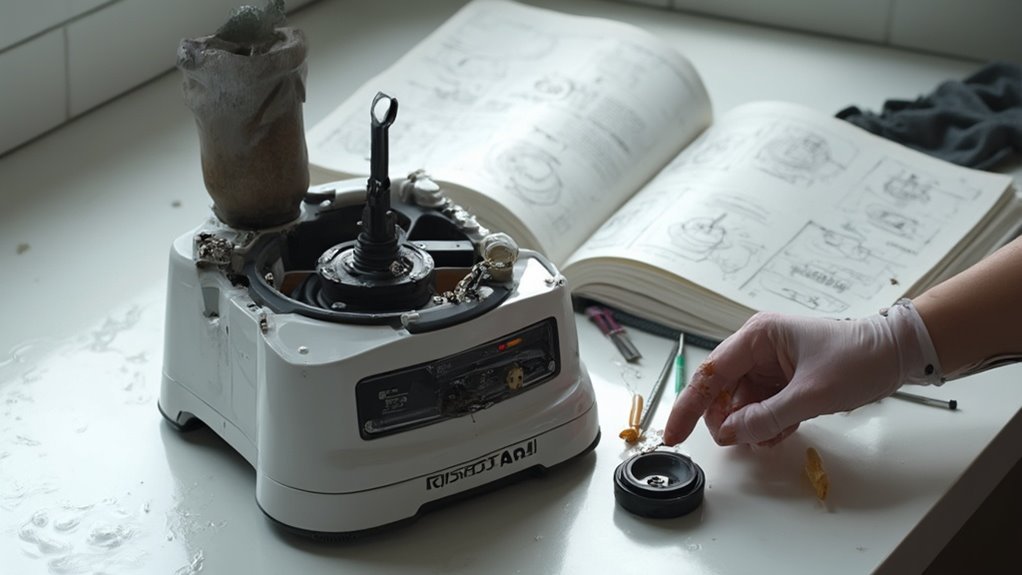
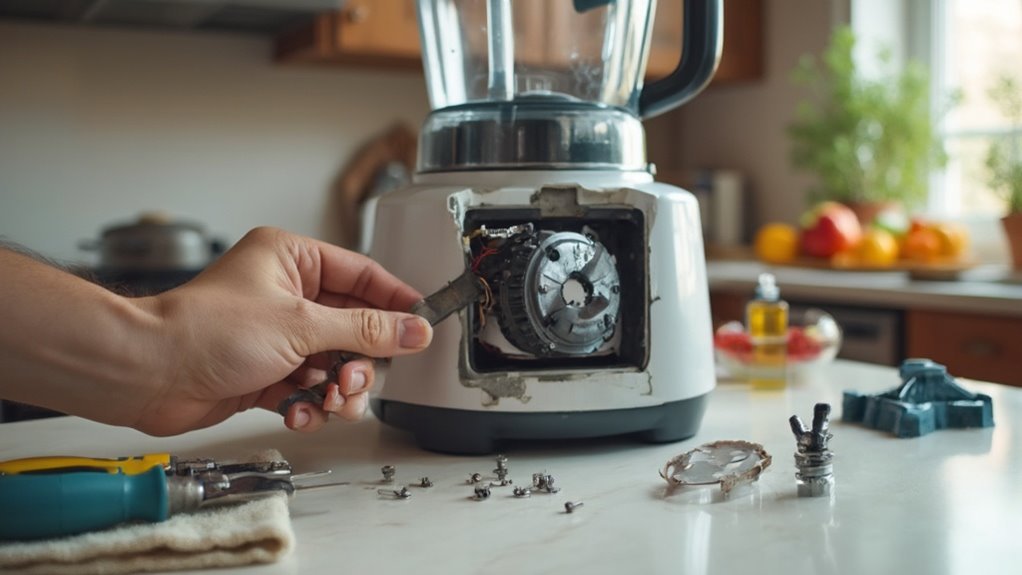
Troubleshooting Motor Malfunctions
To troubleshoot motor malfunctions in your KitchenAid blender, begin by diagnosing motor issues such as unusual noises or failure to start.
Check for overheating problems by inspecting the airflow vents for blockages and ensuring the motor isn't overworked.
Once you've identified the problem, proceed with the necessary repairs or replacements to restore peak performance.
Diagnosing Motor Issues
If your KitchenAid blender is experiencing motor issues, systematically diagnosing the problem is essential for effective troubleshooting.
Begin by evaluating motor performance and pinpointing potential electrical component faults. Here's a methodical approach to get started:
- Inspect the Power Supply: Verify your blender is plugged into a working outlet. Test with another device to confirm power flow.
- Examine the Motor: Listen for unusual noises or vibrations during operation. These could indicate worn bearings or damaged blades affecting motor performance.
- Check Electrical Components: Look for loose wires, burnt connectors, or blown fuses. These elements might disrupt the motor's function, leading to failure.
Fixing Overheating Problems
Overheating in your KitchenAid blender often points to underlying motor malfunctions, and addressing these issues promptly can prevent further damage. Start by identifying blender overheating causes like blocked vents or extended operation. Confirm the blender is unplugged before inspection. Check for airflow obstructions:
| Step | Action |
|---|---|
| 1 | Remove excess dust from vents |
| 2 | Inspect motor for visible damage |
| 3 | Test blender on lower speeds |
| 4 | Limit continuous usage to 1-2 min |
| 5 | Allow cooling periods |
Preventing overheating issues involves regular maintenance. Clean vents and confirm the motor isn't overburdened. Use appropriate ingredients and follow manufacturer guidelines for peak performance. These steps not only preserve your blender's longevity but also grant you the freedom to blend without interruption.
Repairing a Stuck or Loose Blade
A malfunctioning blade can hinder your KitchenAid blender's performance, but resolving this issue is typically straightforward.
Start by inspecting the blade assembly: verify there's no damage or dullness by performing blade sharpening if necessary. Disassemble the blade using proper assembly techniques.
Here's how you can address a stuck or loose blade:
- Stuck Blade: Detach the jar base, then carefully twist the blade counterclockwise. If resistance persists, apply a slight lubricant to ease the movement.
- Loose Blade: Tighten the blade by rotating it clockwise. Use a wrench to secure it firmly, verifying it's snug but not overtight.
- Reassembly: Follow precise assembly techniques to reattach the blade, verifying all components align correctly.
Addressing Power Supply Problems
With your KitchenAid blender's blade issues resolved, you may encounter another common problem: power supply interruptions.
Start by verifying the blender is properly plugged into a functioning outlet. If it still doesn't power on, inspect the electrical connections. Unplug the blender and examine the power cord for any damage or fraying. A damaged cord could disrupt the power supply, necessitating replacement.
Ensure the blender is plugged in, and inspect the power cord for damage or fraying.
Next, check the connection between the base and the jar; verify it's secure and free of debris. A loose connection can prevent the blender from receiving electricity.
Also, test the outlet with another device to confirm it's operational. If issues persist, consider consulting a professional for internal electrical repairs, prioritizing safety and precision in your troubleshooting efforts.
Fixing Unusual Noises or Vibrations
When your KitchenAid blender makes unusual noises or vibrates excessively, start by checking the blade assembly for wear or damage.
Confirm the motor base is properly aligned with the jar to prevent imbalance during operation.
Finally, inspect all component connections, as loose parts can lead to instability and noise.
Blade Assembly Issues
If your KitchenAid blender starts making unusual noises or vibrations, it's time to inspect the blade assembly for potential issues.
First, check the blade sharpness. Dull blades can disrupt the balance, causing unnecessary noise and vibration.
Here's how you can troubleshoot:
- Inspect the Blade: Verify the blades are sharp. If not, consider sharpening or opting for a blade replacement.
- Tighten the Blade Assembly: A loose blade assembly might be the culprit. Secure it firmly to reduce vibrations.
- Examine for Damage: Look for any visible damage or warping in the blades. Replace if necessary to maintain peak performance.
Motor Base Alignment
To guarantee your KitchenAid blender operates smoothly, proper motor base alignment is essential. Start by unplugging the blender to verify safety.
Inspect the base stability by placing it on a flat, stable surface. If the blender wobbles, examine the rubber feet; they should be intact and evenly aligned. Adjust them as necessary to correct any imbalance.
Next, check the motor alignment. Detach the blending jar and observe the coupling and motor shaft. They should be directly aligned. If off-center, gently adjust the motor shaft until it's perfectly vertical.
Tighten any accessible screws to secure the motor's position. Finally, reassemble the blender, verifying all components fit snugly. Test the blender for unusual noises or vibrations, indicating successful alignment.
Loose Component Connections
Although your KitchenAid blender may seem sturdy, loose component connections can cause unusual noises or vibrations during operation.
First, inspect the base for loose screws. Use a screwdriver to tighten any that appear slack. This simple step can greatly reduce noise.
Second, examine the blade assembly for signs of component wear. Worn parts can lead to imbalance, causing vibrations. If wear is visible, consider replacing the blade assembly to restore ideal function.
Third, check the coupling where the jar connects to the base. Verify it's not loose or damaged, as this can also result in unwanted noise.
By methodically addressing each point, you'll gain the freedom of a smoothly running blender without the disruption of unusual sounds or vibrations.
- Tighten loose screws.
- Inspect for component wear.
- Check coupling connections.
Cleaning and Maintaining Your Blender
Keeping your KitchenAid blender clean and well-maintained guarantees it operates efficiently and extends its lifespan. Start by developing a routine maintenance schedule.
After each use, immediately disassemble the blade, jar, and lid for thorough cleaning. Use warm soapy water and a non-abrasive sponge to avoid scratches. For stubborn stains, try a mixture of baking soda and water. Rinse thoroughly and dry components completely to prevent mildew.
These blender hygiene tips will assure your appliance stays spotless. Once a month, inspect the motor base for dust buildup. Use a damp cloth to wipe it down, being careful not to let moisture enter the motor.
Regular upkeep not only preserves performance but also grants you the freedom to create without interruption.
When to Seek Professional Help
How do you know when it's time to call in a professional for your KitchenAid blender? Recognizing signs of malfunction can guide your decision. If you've tried troubleshooting and the issue persists, it's likely time to consult an expert.
Here are key indicators:
- Persistent Leaks: If replacing seals and gaskets doesn't stop leaks, it's a sign of deeper issues requiring professional attention.
- Motor Problems: Strange noises or complete motor failure indicate when to replace or repair. Experts can diagnose motor issues that DIY fixes can't resolve.
- Electrical Malfunctions: Flickering lights or power issues are serious. A professional can ascertain safety and restore functionality.
When in doubt, prioritizing safety and performance by consulting a professional can save time and prevent further damage.
Conclusion
By following these repair steps, you'll keep your KitchenAid blender running smoothly, avoiding costly replacements. You might think these repairs are too complex, but with the right tools and guidance, you can handle them. Remember, regular maintenance prevents further issues, saving you time and money in the long run. So, roll up your sleeves and tackle those leaks, couplings, and motor problems confidently. If you're ever unsure, don't hesitate to seek professional help.