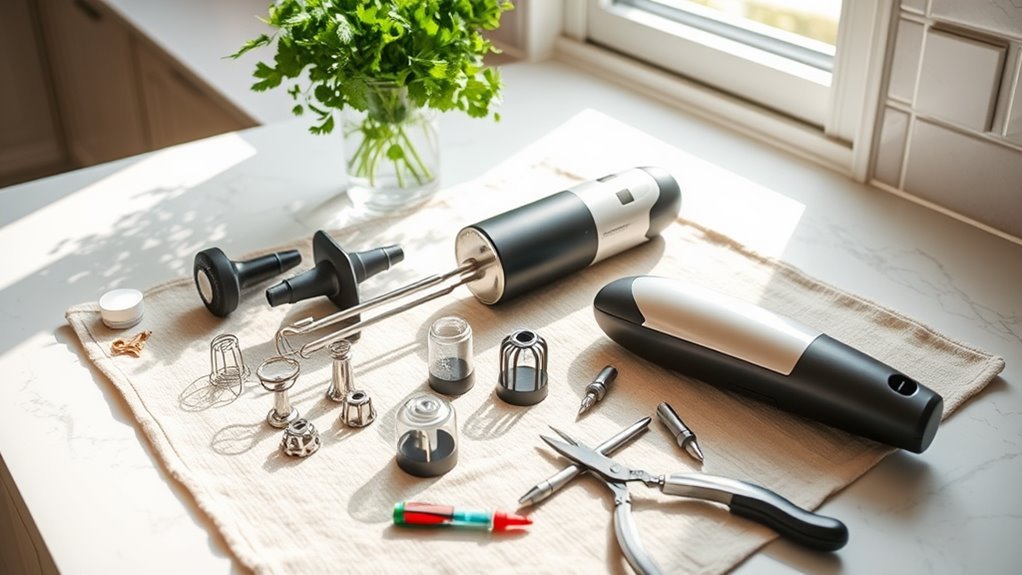
To repair or replace hand blender parts, start by identifying common problems like power issues or overheating. Essential tools include precision screwdrivers, a multimeter, and needle-nose pliers. For a burnt-out motor or dull blades, disassemble the blender carefully, replacing or sharpening as necessary. Explore online marketplaces for replacement parts, ensuring compatibility with your model. Secure the motor connections during reassembly and test functionality. Further details will guide you through intricate troubleshooting steps.
Key Takeaways
- Unplug the blender to ensure safety before beginning any repairs or part replacements.
- Use precision screwdrivers and a multimeter for effective diagnosis and repair of electrical issues.
- Inspect for jams or misalignments if the motor runs but blades don't spin.
- Replace cracked housing or dull blades promptly to maintain blender efficiency.
- Verify replacement parts' compatibility with your model number before purchasing online.
Identifying Common Hand Blender Problems
When diagnosing issues with your hand blender, it's important to recognize the most common problems that might arise.
Start by checking if your blender won't power on. Make sure it's plugged in securely and inspect the power cord for damage.
If the motor runs but the blades don't spin, a jam or misalignment might be the culprit. Carefully disassemble the unit to check for obstructions.
Overheating is another common issue; give your blender a rest and make certain of proper ventilation.
For inconsistent speeds, examine the speed control switch for wear or debris.
These troubleshooting tips will empower you to tackle issues confidently. By understanding these common problems, you can maintain your hand blender's functionality and enjoy the freedom of seamless culinary creations.
Tools and Materials Needed for Repairs
Repairing your hand blender requires specific tools and materials to guarantee successful troubleshooting and restoration.
First, gather a set of precision screwdrivers, as different screw types might secure various parts. A multimeter will help you check electrical continuity, making sure components function correctly. Needle-nose pliers are essential for gripping small parts or wires.
Keep a small brush handy to clean out debris and dust from the motor housing.
Safety precautions are vital: wear insulated gloves to prevent electrical shock and confirm the blender is unplugged before starting any repair. A magnifying glass can help identify tiny components or hidden damage.
Finally, have replacement parts on hand, specifically those prone to wear, like gaskets or seals. With these tools and materials, you'll be equipped for effective repairs.
Step-by-Step Guide to Fixing a Burnt-Out Motor
Equipped with the right tools and materials, you're ready to tackle fixing a burnt-out motor in your hand blender. Start by unplugging the device to guarantee safety.
Next, locate the screws securing the blender housing and remove them to access the motor. Carefully perform motor disassembly, taking note of each component's placement.
Inspect the motor for signs of motor overheating, such as burnt windings or melted insulation. If overheating is evident, replace the affected parts or rewind the motor coils.
Reassemble the motor, guaranteeing all connections are secure. Once reassembled, test the motor by plugging in the blender and turning it on. If it runs smoothly without overheating, you've successfully repaired your hand blender's motor.
Replacing Cracked Housing and Dull Blades
A cracked housing and dull blades can greatly impair the performance of your hand blender, but both issues are fixable with careful attention to detail.
Begin by unplugging the blender and removing any detachable parts. For cracked housing, inspect the damage and use a plastic adhesive to seal minor cracks. Apply evenly and allow it to cure. If you discover major cracks, replacement is necessary.
When addressing dull blades, safely detach the blade assembly. Use a sharpening stone to restore sharpness, maintaining a consistent angle. Reattach the blades securely, ensuring they align correctly.
Test the blender's functionality before regular use. With these steps, you'll restore your hand blender's efficiency, allowing you to blend with freedom and precision once more.
Finding and Purchasing Replacement Parts
Once you've assessed the condition of your hand blender and identified parts that need replacement, sourcing the correct components is your next task. Begin by exploring online marketplaces, where you can compare options quickly and find competitive prices. Check both the manufacturer's website and reliable spare part vendors for genuine parts. Here's a quick guide to help you:
| Platform | Advantages |
|---|---|
| Manufacturer's Website | Genuine parts, warranty support |
| Amazon | Wide selection, user reviews |
| eBay | Competitive pricing, used parts availability |
| Specialized Vendors | Expert advice, hard-to-find components |
When choosing, verify compatibility with your model number. Don't hesitate to reach out to vendors for clarification. Taking control of your repair process empowers you with the freedom to fix things yourself.
Conclusion
You've mastered the art of hand blender repair, turning frustration into empowerment. With these techniques, you've not just saved money but also gained valuable skills. When your blender falters, remember: a cracked housing or dull blade is no match for your expertise. As you replace parts with precision, you breathe new life into your trusty appliance. So, wield your tools with confidence, for every challenge is just another opportunity to blend perfection. Who knew troubleshooting could taste so sweet?
