
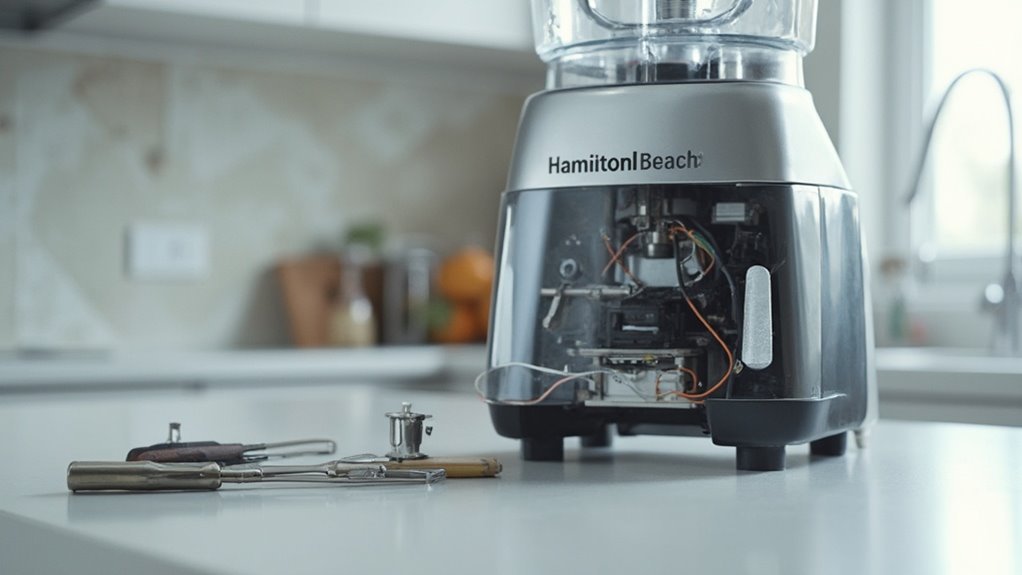
To troubleshoot your Hamilton Beach blender, start by checking the blades for any signs of wear or misalignment. Confirm the motor isn't overheating by giving it rest breaks during intensive use and making sure vents are clear. Inspect the jar for cracks and the gasket for proper sealing to avoid leaks. For power issues, verify the power cord's condition and make sure your outlet functions properly. Strange noises might mean loose components. There's more to discover for effective maintenance.
Key Takeaways
- Inspect blades for wear or misalignment and replace if necessary to maintain performance.
- Let the blender cool down periodically to prevent motor overheating.
- Check for jar leaks by examining the gasket and ensuring a secure blade assembly.
- Verify the power supply by inspecting the cord and testing the outlet with another device.
- Address unusual noises by tightening the blade assembly and checking for debris in the jar base.
Identifying Blade Performance Issues
When diagnosing blade performance issues in your Hamilton Beach blender, it's crucial to observe any unusual sounds or vibrations during operation.
To maintain peak performance, consider blade sharpening techniques. Sharp blades efficiently process ingredients, reducing strain and extending motor life. If you notice dullness, disassemble the blade assembly and use a sharpening tool. Follow the manufacturer's guidelines for safe handling.
Consider sharpening your blender blades to enhance efficiency and prolong motor life, adhering to safety guidelines.
Common blade obstructions like food debris or fibrous materials may impede blade efficiency. Inspect the blades after each use; clear any lodged particles with a soft brush. Avoid using hard objects that could damage the blades.
If obstructions persist, check for any misalignment or wear and replace components as needed. By addressing these issues, you'll guarantee your blender operates smoothly and reliably.
Resolving Motor Overheating Problems
Having addressed blade performance issues, let's tackle another common problem: motor overheating in your Hamilton Beach blender.
To guarantee motor cooling, always unplug the blender and let it rest after heavy use. This prevents wear and maintains efficiency. Regularly check for obstructions in the vents, as clogged vents hinder airflow, causing the motor to heat up.


Activate your blender's thermal protection by not running it continuously for extended periods. If your model includes a thermal fuse, it's designed to shut the motor off temporarily when overheating is detected, offering an essential safeguard.
Should the thermal fuse activate, allow your blender to cool down fully before reuse. This proactive approach extends motor life and helps you enjoy uninterrupted blending freedom.
Addressing Blender Jar Leaks
To address blender jar leaks, first identify the leak sources by inspecting the jar and base for cracks or loose components.
Pay close attention to the gasket and seal, as wear or misalignment can cause leakage.
If needed, replace the gasket and guarantee the seal is properly fitted to prevent future leaks.
Identifying Leak Sources
If your Hamilton Beach blender is leaking, pinpointing the source of the leak is essential for effective troubleshooting.
Begin your leak detection process by examining common areas that might compromise fluid management.
Check these potential leak sources:
- Blade Assembly: Verify the blade is tightly secured to the jar base.
- Jar Base: Inspect for any cracks or wear that might allow fluid to escape.
- Lid: Confirm the lid fits snugly and isn't warped or damaged.
- Jar Threads: Look for worn or damaged threads that might prevent a proper seal.
- Overflow: Verify you haven't overfilled the jar, which can cause leaks during blending.
Gasket and Seal Replacement
When faced with persistent leaks from the blender jar, checking the gasket and seal is essential for resolving the issue. Different gasket types and seal materials can affect performance and longevity. To regain your blender's efficiency, first, identify the right gasket type: rubber or silicone. Silicone offers heat resistance, while rubber is flexible and cost-effective. Inspect the seal material for wear or damage. If replacement is needed, verify compatibility with your Hamilton Beach model.
| Gasket Type | Seal Material |
|---|---|
| Rubber | Worn or cracked |
| Silicone | Heat-resistant |
| New | Compatible match |
| Old | Replace |
| Custom Fit | Specific model |
Replacing these components will empower you to restore your blender, granting you the freedom to blend without leaks.
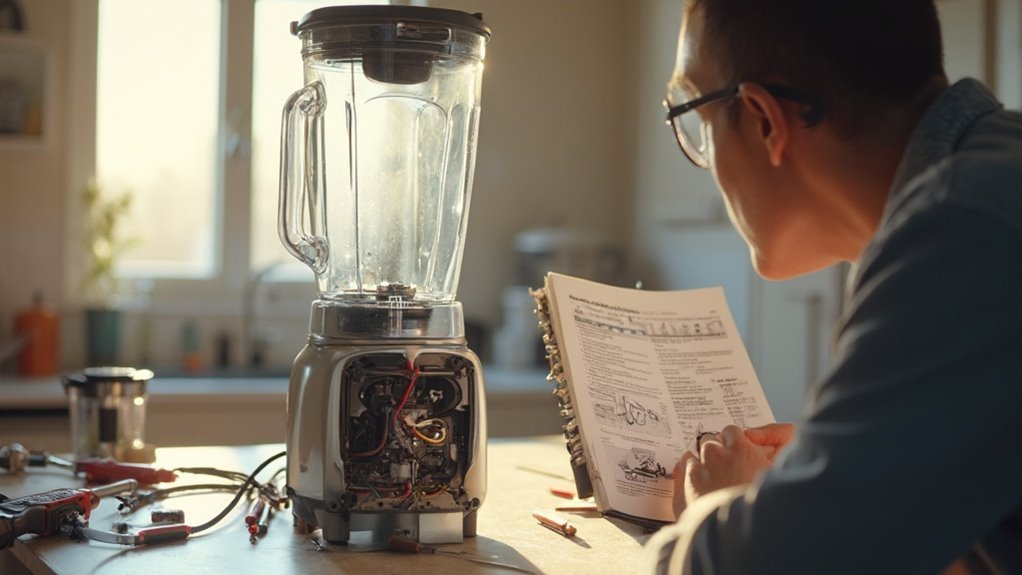
Fixing Power Supply and Electrical Concerns
Although blenders are typically sturdy appliances, power supply and electrical issues can occasionally arise with Hamilton Beach models.
Start by inspecting the power cord for visible damage. Verify it's plugged securely into a functioning outlet. If it's still not working, follow these steps:
- Check the circuit breaker to verify it's not tripped.
- Test the outlet with another device to confirm it's not the issue.
- Examine the blender's switch for any signs of wear or damage.
- Use a multimeter to verify electrical continuity in the power cord.
- If problems persist, consider contacting Hamilton Beach support.
Tackling Unusual Noises During Operation
Unusual noises during blender operation can be unsettling, yet diagnosing the issue is often straightforward.
First, check for unusual vibrations, which could indicate a loose blade assembly. Tighten the blade collar securely to eliminate this cause.
If the noise persists, inspect the jar's base for any debris that might obstruct smooth operation. Sometimes, strange smells accompany these sounds, possibly pointing to an overheating motor. Verify the motor isn't overworked by blending smaller batches.
Additionally, confirm that the jar is properly aligned on its base. Misalignment often causes unnecessary strain.
If these steps don't resolve the issue, examine the drive socket for wear and tear. Replacing worn components can restore your blender's performance, offering you the freedom to blend effortlessly.
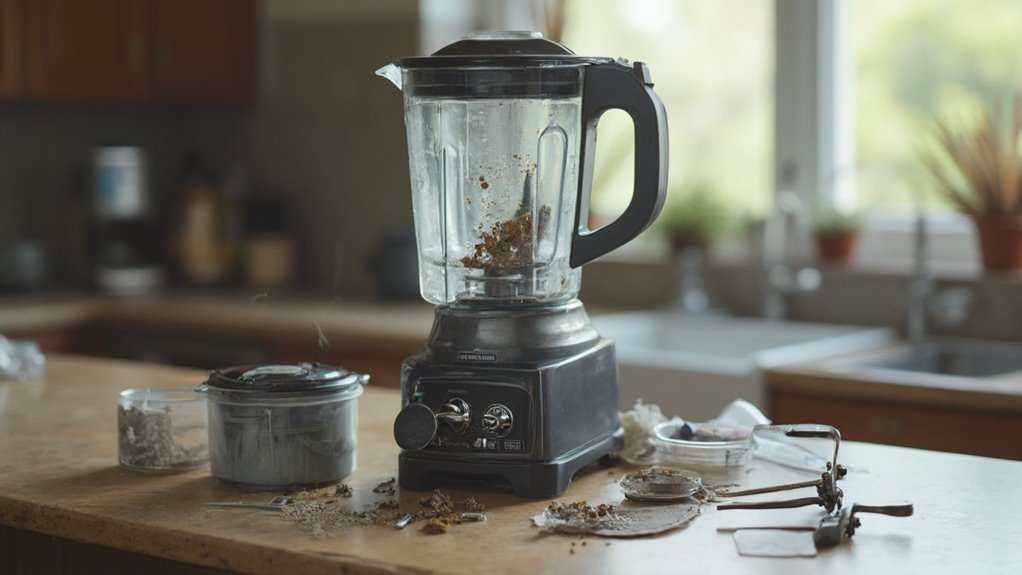
Maintaining and Cleaning Your Blender for Longevity
Having addressed the challenges of unusual noises, it's time to focus on maintaining and cleaning your Hamilton Beach blender to guarantee its longevity.
Daily cleaning and proper storage are key to extending your blender's life. Here are some practical tips:
Daily cleaning and proper storage significantly enhance the lifespan of your blender.
- Daily Cleaning: Rinse the jar immediately after use to prevent residue buildup.
- Deep Clean: Once a week, blend warm water and dish soap to remove stubborn stains.
- Blade Care: Disassemble the blades for thorough cleaning and check for wear regularly.
- Blender Storage Tips: Store in a dry, cool place to avoid motor damage.
- Seal Check: Inspect and replace seals as needed to prevent leaks.
Conclusion
You've tackled Hamilton Beach blender issues head-on, but there's a lingering question: what if the unexpected happens? As you master blade performance and conquer motor overheating, remember that small leaks and power hiccups may still surprise you. Stay vigilant, keep those unusual noises at bay, and maintain your blender meticulously. The secret to a long-lasting appliance lies in your hands. Are you prepared to guarantee your blender's longevity and release its full potential? The answer might just blend everything together.